How to assemble 3D Mechanical puzzles
1. Unpacking
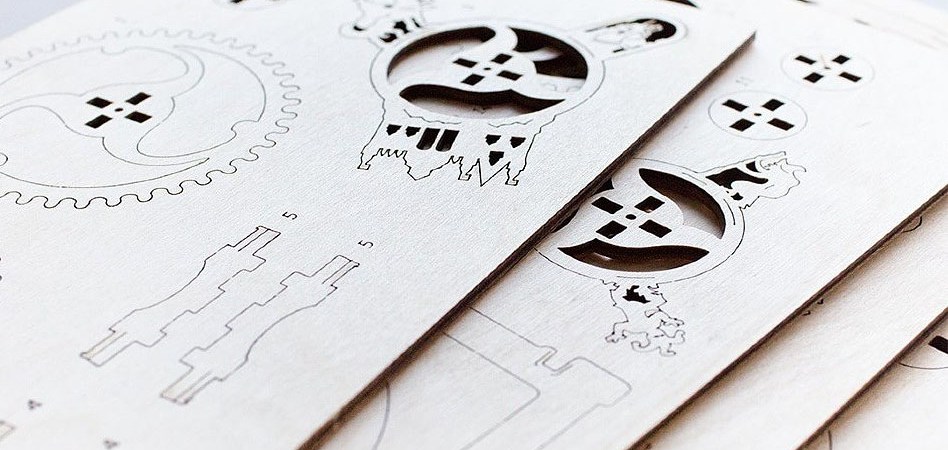
There is packaged puzzle opposite to you. After unboxing you will see this set:
Wooden clapboards with cut-out details;
Toothpicks, playing a role of axes of gears;
Stationery rubber bands for making a “rubber motor”.
If children participate in the process of assembling of the puzzle, be careful and help them with complex elements. Explain to the children how to carefully use toothpicks and be careful.
2. Preparation for assembly
So, you unpacked the puzzle. The first thing you need is to determine the front of the board (it is lighter and purer).
Now you can start extracting the details from the plate. BUT do not hurry to extract all the details in a row. Follow the manual and find the required numbered block, for not to sink in a heap of small details and do not completely get lost.
Extracting the details out of the wooden dowel, it is better to do this in the direction to yourself (that is, looking at the front side) or from yourself (looking at the back side) and press in places of seams or connecting bridge, if it is. So, if burrs are pulled along with the detail, they will leave the grooves in the workpiece and not spoil the appearance of the parts. It is important to do everything gently and not to hurry, as with negligence it is possible to damage the detail. If you still saw a burr sticking out of the part, it’s okay, just gently cut it or tear it off so as not to damage the part.
Especially good clean gears!

3. Assemblage
1.Take the details of the block and connect them according to the manual.If a toothpick is used in the element and it is difficult to insert, smear it with a candle. Also, with a candle, smear the projecting axes of the gears and the gear teeth themselves before fitting them into the frame. So friction will be minimal, and the model will move faster. Do not smear the details of the pendulum connection – two protruding sticks in the tractor or timer, for then the pendulum will not fluctuate but slip. As an emphasis for a toothpick, use the plate itself or the table, for not to damage your fingers.
2. And now connect the finished structural elements together, check the ease of movement of the construction. You can use the candle again, if necessary.
3. Enjoying self-greatness.
Features and algorithm of assembling individual puzzles you will learn from the manual that is included.
Good luck in the assembly, let the creation start!


